用户管理
添加新用户
1 | adduser username |
adduser和useradd的区别是adduser会在/home下创建同名目录,也会设置密码,设置shell,用adduser就可以。
添加到sudo用户组
1 | usermod -aG sudo username |
文件备份
1 | rsync |
安全防护
禁用密码登录使用密钥
1 | ssh-keygen |
配置SSH
打开/etc/ssh/sshd_config文件设置
1 | Port XXXX#修改默认端口号 |
然后重启SSH
service sshd restart
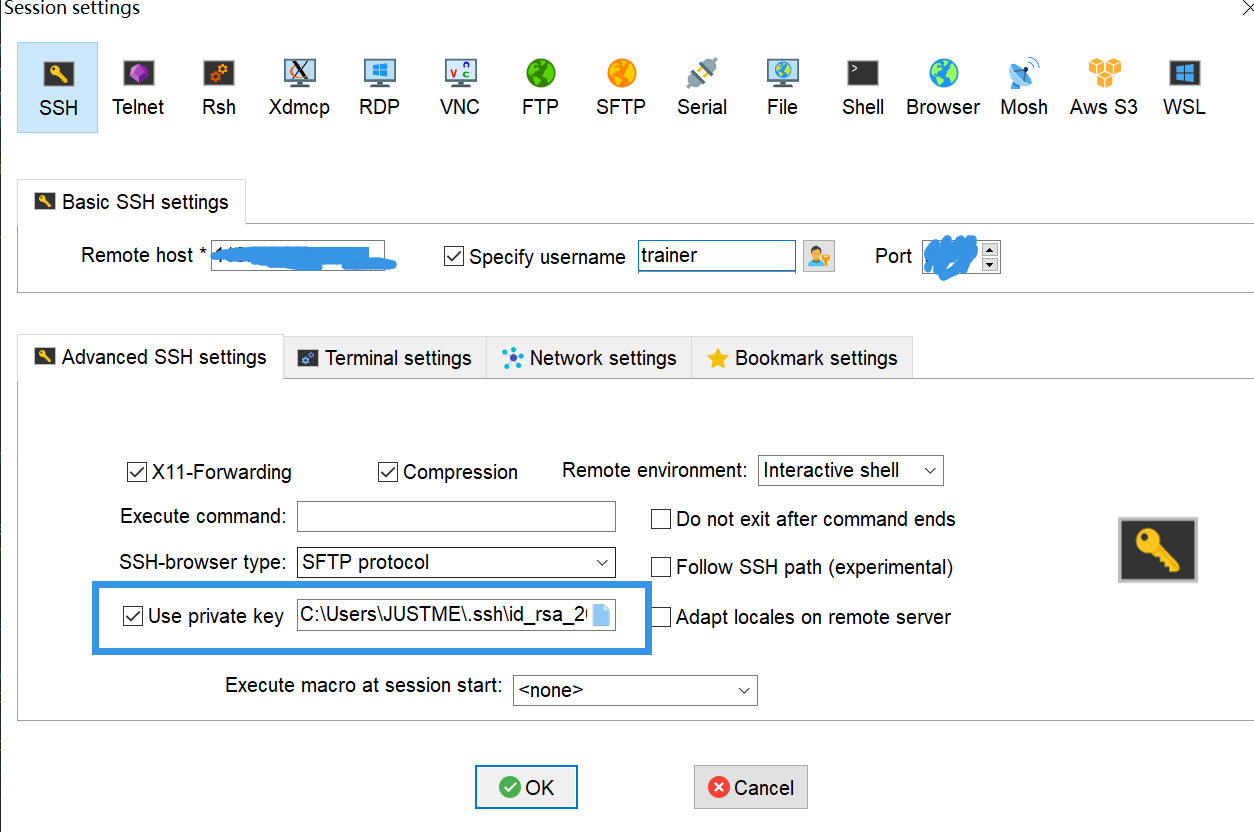
本地使用私钥登录
fail2ban
使用密钥登录这个就用不到了
1 | sudo apt install fail2ban |
炼丹环境
安装驱动
选择自己的显卡型号,系统
https://www.nvidia.cn/Download/index.aspx?lang=cn
wget url下载NVIDIA-Linux-x86_64-xx.xx.run驱动
魔法搭建
不少机场都是给一个订阅url,然而v2ray命令行版并不支持订阅,需要解析工具:https://github.com/arkrz/v2sub
1 | 因 ping 与 服务重启 权限需要,以 root 权限运行: |
vmess可以直接用下面脚本转json
https://github.com/boypt/vmess2json
v2ray安装
没梯子的话安装脚本大概率下载不了,自己下载预编译文件后传到服务器上,把文件copy到对应文件夹
https://github.com/v2fly/v2ray-core/releases

安装v2gen,生成config,默认端口号是1080和1081,需要在
https://github.com/teasiu/v2gen/blob/main/README_zh_cn.md
开启samba服务
1 | sudo apt install samba |
编辑/etc/samba/smb.config
1 | [shareFold] #共享文件夹名称 |
常用命令:
1 | pdbedit -L #列出samba用户 |
autossh内网穿透
公网机器上需要在ect/ssh/sshd_config下修改GatewayPorts yes
然后sudo service sshd restart
内网机器:
1 | autossh -p 公网ssh端口号 -M 本地监听端口号 -NR '*:对外端口号:localhost:本地ssh端口号' 公网username@公网ip |
内网机器添加service
1 | [Unit] |
id_rsa_cloud生成:
ssh-keygen
ssh-copy-id -p port 公网主机username@ip
注意公网机器的端口是否开放
zerotier
1、在线安装zerotier
curl -s https://install.zerotier.com/ | sudo bash
2、添加开机自启
$ sudo systemctl enable zerotier-one.service
3、启动zerotier-one.service
$ sudo systemctl start zerotier-one.service
4、加入网络
$ sudo zerotier-cli join xxxxxxx
cgroup
https://blog.csdn.net/weixin_41855380/article/details/109553353